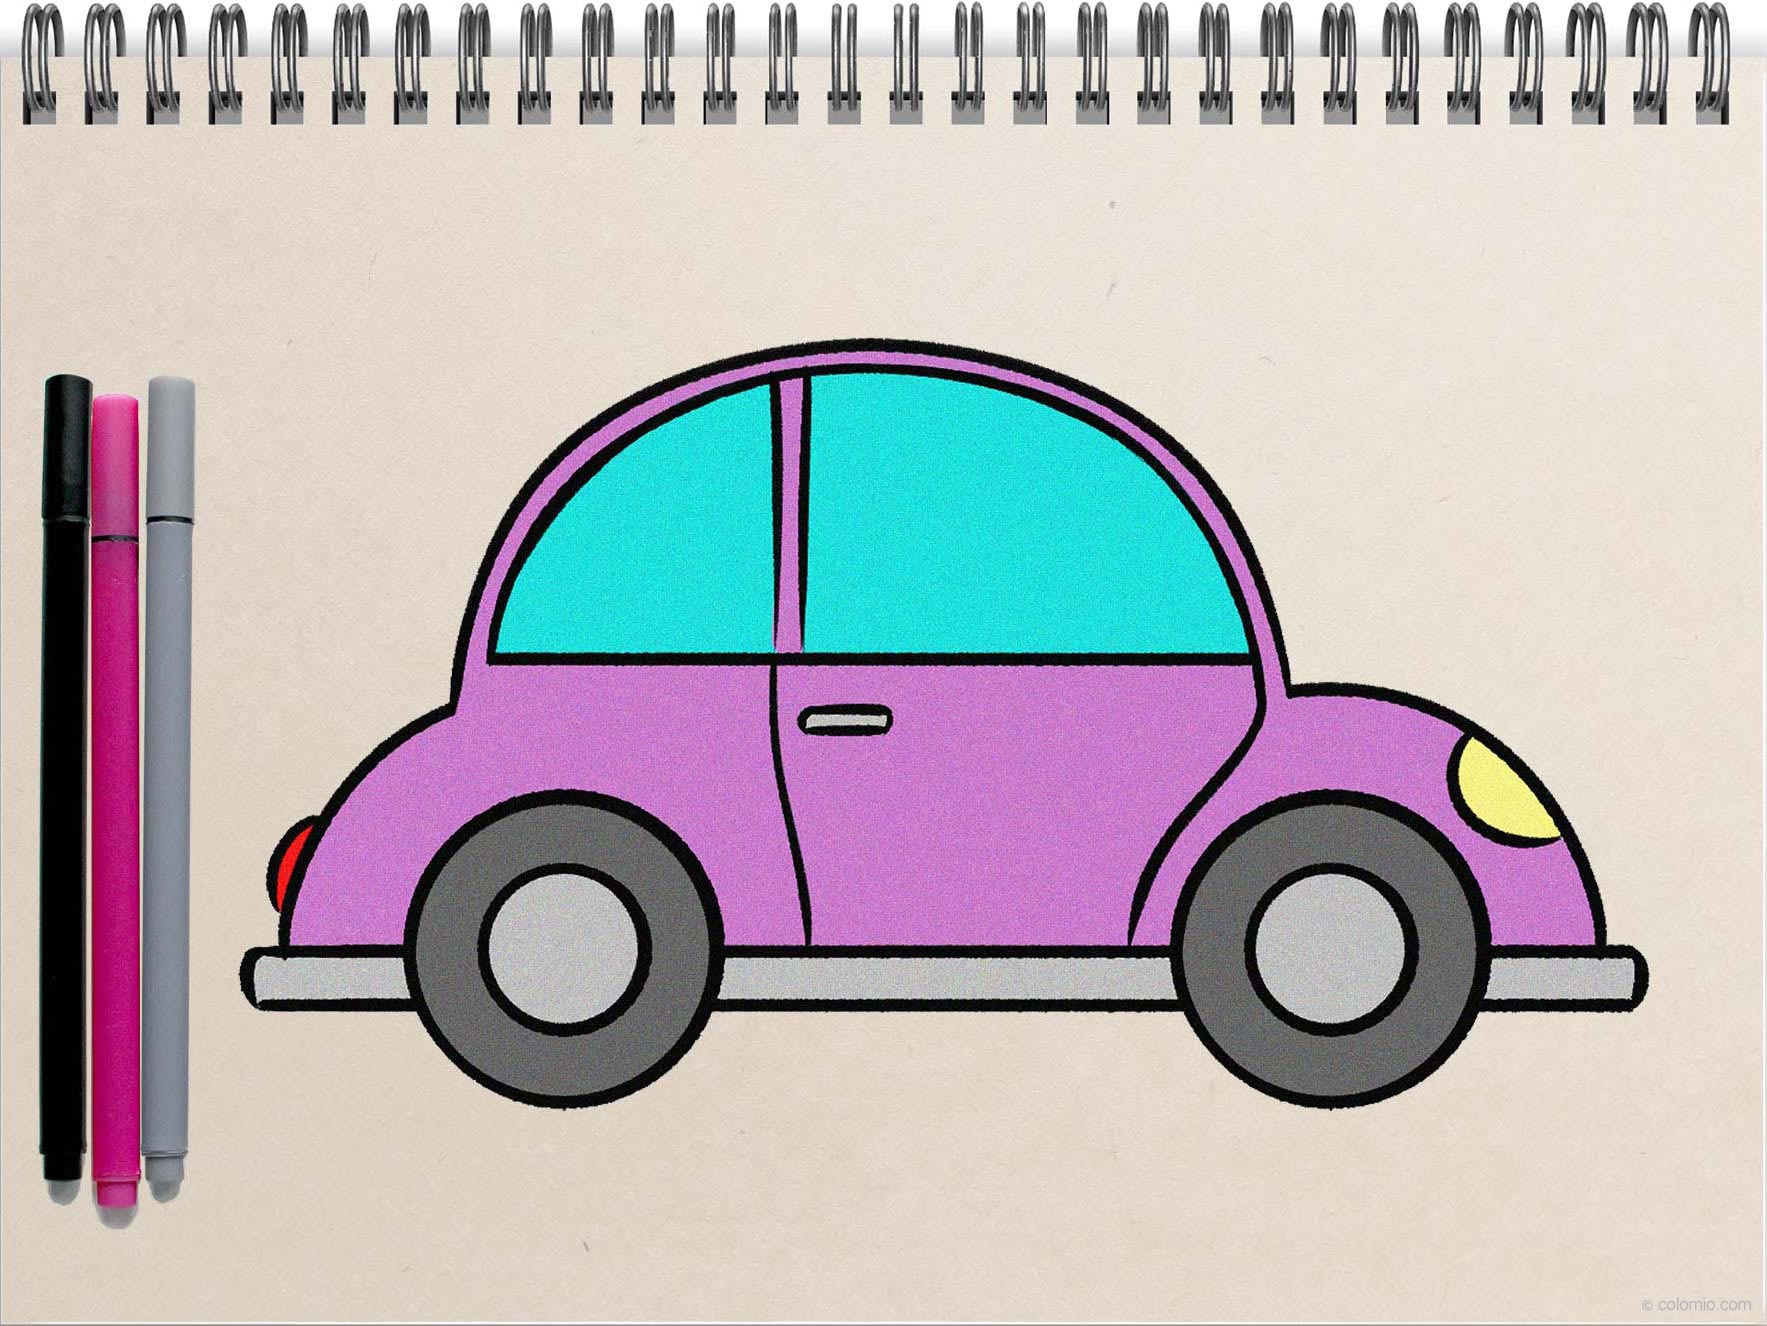
A Step-by-Step Guide For Beginners
Drawing a simple car can be an enjoyable and rewarding experience, especially for beginners who wish to develop their artistic skills. In this article, we will explore the essential techniques and methods for drawing a car that is both easy to understand and replicate. Whether you are a child learning to draw or an adult looking to rekindle your passion for art, this guide is tailored to help you create your own simple car illustration. We will break down the process into manageable steps, ensuring that you can follow along with ease and confidence.
Throughout this article, we will cover the fundamental shapes that form the basis of a car design, the different perspectives you can use, and tips on adding details to enhance your drawing. Additionally, we will provide resources and references to further assist you on your artistic journey. The goal is to not only help you draw a simple car but also to encourage creativity and self-expression through art.
So, grab your pencil and paper, and let’s get started on this fun and engaging activity that can be enjoyed by anyone, regardless of age or skill level. By the end of this guide, you’ll be able to draw a simple car with confidence and flair!
Table of Contents
Understanding Basic Shapes
Before diving into the drawing process, it’s essential to understand the basic shapes that will form your car. Most cars can be simplified into several geometric shapes:
- Rectangle: The main body of the car is often a rectangle.
- Circles: The wheels of the car are represented by circles.
- Triangles: The roof of the car can be drawn using triangles or trapezoids.
By mastering these shapes, you can easily assemble them to create a simple car design. This foundational understanding will also help you in drawing more complex shapes in the future.
Gathering Your Materials
To get started with your car drawing, you will need the following materials:
- Pencil
- Eraser
- Drawing paper
- Black marker (optional for outlining)
- Colored pencils or markers (optional for coloring)
Having these materials ready will ensure that you can follow along without interruptions.
Step-by-Step Drawing Instructions
Now that you have your materials ready, let’s move on to the step-by-step instructions for drawing a simple car:
Step 1: Draw the Body
Start by drawing a rectangle for the body of the car. Ensure that the rectangle is slightly wider at the bottom to give it stability.
Step 2: Add the Roof
Next, draw a shorter rectangle or a trapezoid on top of the first rectangle to represent the roof of the car.
Step 3: Sketch the Wheels
Draw two circles below the body of the car for the wheels. Make sure they are evenly spaced and proportional to the body.
Step 4: Connect the Shapes
Using straight lines, connect the roof and body of the car. This will give your drawing a more cohesive look.
Step 5: Refine Your Drawing
Go over your shapes, refining the lines and adding any necessary curves to make the car look more realistic.
Step 6: Add Windows and Details
Draw rectangles or curved shapes for the windows. You can also add details like headlights, a grille, and door handles.
Step 7: Outline Your Drawing
If desired, use a black marker to outline your drawing, making it stand out.
Step 8: Erase Unnecessary Lines
Gently erase any unnecessary pencil lines to clean up your drawing.
Adding Details and Personal Touches
Now that you have your basic car outline, it’s time to add some personal touches:
- Add unique patterns or decals on the car.
- Experiment with different shapes for the wheels.
- Consider adding a background or scenery to make your drawing more dynamic.
Different Perspectives for Your Drawing
Once you’ve mastered drawing a simple car from a side view, try exploring different perspectives:
- Front View: Focus on the grill and headlights.
- Top View: Emphasize the roof and layout of the car.
- Three-Quarter View: Combine elements of both side and front views.
Each perspective will challenge your skills and enhance your ability to draw cars from various angles.
Coloring Your Car Drawing
Once your car drawing is complete, you can add color to bring it to life. Here are some tips for coloring:
- Choose a color scheme that complements your design.
- Use lighter colors for highlights and darker shades for shadows.
- Experiment with blending colors for a more dynamic look.
Common Mistakes to Avoid
As you practice drawing cars, be mindful of these common mistakes:
- Proportions: Ensure that the wheels and body are proportional.
- Symmetry: Keep your design balanced to avoid an awkward appearance.
- Overcomplicating: Start simple and gradually add details as you gain confidence.
Resources for Further Learning
To continue improving your drawing skills, consider exploring the following resources:
- Online drawing tutorials on platforms like YouTube.
- Art books focusing on car design and drawing techniques.
- Community forums and art groups for feedback and inspiration.
Conclusion
In this guide, we have covered the essential steps on how to draw a simple car, from understanding basic shapes to adding details and color. Remember, practice is key to improving your drawing skills. Don't hesitate to experiment and make your drawings unique. We encourage you to share your progress and experiences in the comments below, and feel free to explore other articles on our site for more drawing tips and techniques!
Penutup
Thank you for taking the time to learn how to draw a simple car with us! We hope you found this guide helpful and inspiring. Remember, every artist was once a beginner, and the more you practice, the better you will become. We look forward to seeing you back on our site for more exciting drawing tutorials and artistic adventures!
Article Recommendations


ncG1vNJzZmilqZu8rbXAZ5qopV%2BcrrOwxKdpaJyilsRurYysoKaonJp6pK3RZ5%2BtpZw%3D